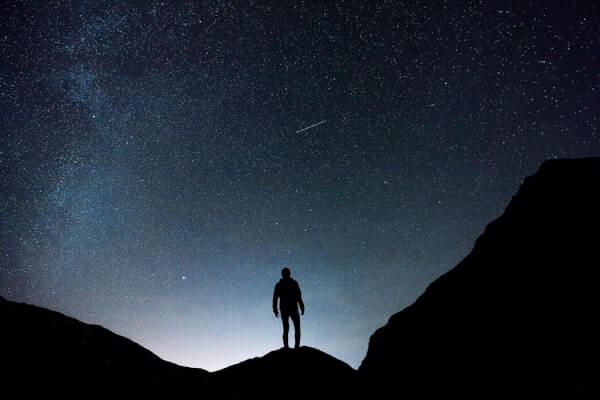
Raise your hand if you have ever been under a fabulous blanket of stars, and tried to capture it with your phone camera. Ok, now put them down. Now, raise your hand if they have come out the way you have wanted them to – exactly as you see it with the naked eye. No one?
See also: Night Hiking: Planning Your Perfect Hike in Dark Evenings
Then you have come to the right place. We’ll discuss how to take pictures of stars so that you can capture the beauty of the night sky. Night photography differs a bit from daytime photography, and you will notice this especially if you normally shoot photos on automatic settings (even if you have a fancy DSLR camera, if you haven’t bothered to get to know it, this applies to you too).
The first, perhaps most important thing to keep in mind when taking photos is that the camera lens was designed to mimic the human eye. Think about this: when you go into a bright room, or go outside into the bright sun, your pupils get smaller because there’d be too much light entering them otherwise.
A camera lens has the ability to do the same thing – you adjust the F Stop, or aperture, to open or close the opening of the lens, to adjust how much light hits it, just like your pupil.
Another thing to consider is the ISO, which controls the sensitivity of your lens to the light. For example, if you have an astigmatism, your eyes are much more sensitive to bright lights than if do not have one. Think of the higher you increase the ISO, the more your camera lens has an astigmatism.
Some cameras have an automatic ISO setting, and so when people use those settings to take pictures in dark environments, you see what’s called ‘noise’ in the photo. ‘Noisy’ photos are also known as ‘grainy’ photos, and they usually end up out of focus, as well. While this can give your photos an antique-y look, it is most likely not the look you are going for when taking pictures of the night sky. For the best outdoor cameras, check out our must-read piece to find out more
Finally, consider the focus setting. Most cameras and phone cameras have an auto-focus setting, and it’s really common to keep them on this. Unless you really know what you are doing, most devices’ auto-focus works just fine for taking pictures of the night sky.
Consider this super useful tip: cutting your ISO in half (e.g. going from 6400 to 3200) and doubling your shutter speed at the same time will yield the same exposure with a longer shutter speed. Now that you have got the basics of your camera down, you are ready to do some prep work!
Preparation and Set-Up
Before you head out to your favorite spot to photograph the amazing night sky, it’s recommended that you check both the weather and the moon phase. There are many ways to do this, but the most common would be to use a mobile or desktop app.
Some popular ones are The Photographers Ephemeris and Photopills. These will both allow you to easily find out, for any given date, time and location what the lighting will be like and how clear the sky will be.
Depending on what you want to take pictures of, the moon phases will be more or less important for you. Taking pictures of the night sky when the moon is full (or out in any form, really) will mean you won’t be able to get nice shots of the Milky Way, but no worries – you will still be able to capture great shots of the starry sky.
Another thing to consider is the light pollution in your area. You want to make sure this is as minimal as possible. Why? Well, ever wonder why you can’t see stars when you are anywhere near a city? Light pollution is the answer!
Your eyes (and thus, your camera lens) pick up the light that’s closer and therefore brighter. you will need to get as far away from artificial lighting as possible, and a good app to check that is the Blue Marble Light Pollution Map. Again, you can search it to find some dark locations near you, where you can best explore the night sky through your camera lens.
Once you have got your location scouted, think about how long you plan to stay out shooting the stars. After which I switch over to a program called Stellarium that allows the user to see how the stars, the planets, the Milky Way, and really any other object will move through the night sky for whichever time frame you plan to be out shooting.
Low-Tech Shooting
In other words, this section is for you if you plan on taking photos of the stars and night sky with your phone’s camera. These days, the majority of people are using their phone cameras in place of those little point-and-shoot cameras so famous from the 2000s.
This is most likely because phone cameras have either matched or superseded the megapixel quality of point-and-shoots, and thus decreased the need to have multiple little electronic devices on your person at all times.
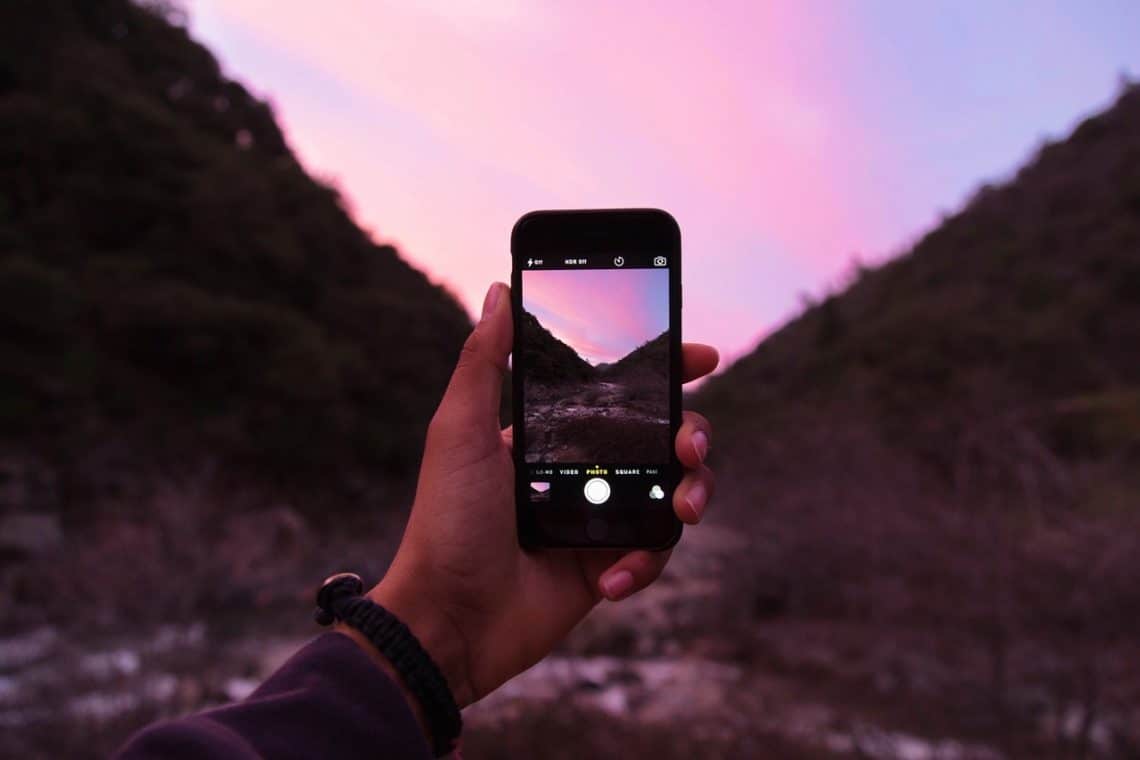
In fact, phone cameras have almost, if not all, of the features of a smaller point-and-shoot digital camera. This means you can switch between manual and automatic modes for almost everything – plus you have those cool filters – and adjust it as you would a regular camera. Keep in mind, though, that the traditional lens on a smartphone is wider than a camera lens, and it’s automatically set to focus on the darker elements (i.e., the sky) than the brighter ones.
Because of this, there are several options: you can continue to shoot directly from the camera app on your phone, using a mix of manual settings for the ISO, white balance, and aperture/F Stop, and keeping the auto-focus setting on.
You also have the option of shooting through several different apps that will yield photo files in RAW format (better for retaining full color and for post-process editing later in Photoshop, for example). Some of these apps are NightCap Pro, ProShot, Manual, and Camera FV-5. These apps have loads of features, the most central of which are allowing you to control the camera lens like you would on a fancier SLR or DSLR camera.
It is suggested to scroll through these apps and familiarize yourself with what your own process is going to be. Make sure you have got a tripod and a hands-free way to depress the shutter, and ta-da! you are ready to take fantastic night sky photos with your smartphone.
High-Tech
Now, in this section we’ll discuss the same thing but for those who plan to shoot with an SLR or DSLR camera. you will want to make sure that whatever fancy camera you have, it can at least shoot in a manual mode, with a functionality that shoots images in RAW format.
Other equipment you will want to make sure you have is a tripod, and maybe even different lenses. The reason this is suggested is because you want a wide-angle lens that can shoot between 12-30mm full frames.
When you are setting up the shot, consider that it’s advisable to increase your camera’s exposure time first (remember that you will want this to be long enough to let in substantial light), and then select the ISO setting second.
We recommend this because a long exposure time won’t negatively affect the picture quality. Make sure you select a stable location to set up your tripod, because we all know what happens when you leave the exposure open and shake the camera. No one likes blurry photos!
The exception to this, of course, is if you’re wanting to capture the rotation of the Earth underneath the stars, so you get the star trails as well. You achieve this by leaving the exposure, or shutter, open for a really long period of time.
If your goal is to capture the star trails making a full or semi-circular pattern across the night sky, you’ll have to include the north or south pole in the lens view to achieve that. These are easily locatable with a little bit of patience – and sometimes, with an app.
If you are shooting your photos in the northern hemisphere, you can locate the north pole by searching for the Big Dipper constellation. The North Star will be the last star in the handle (and you might notice it’s a bit bright than the ones around it, as well).
If you’re in the southern hemisphere, the south pole is a bit more difficult to find. However, there is a handy program app called Stellarium that will be of great help. Then, you can set up your tripod, set the exposure time to something like 45 minutes, and select a low ISO setting. You should take at least one practice shot before committing to the moment of your final photo, just to make any last minute adjustments.
Now, if you’re wanting those crisp, stars-caught-in-time photos, you’re going to want to adjust your F Stop, or aperture next. You can shoot anywhere between f/2.0 and f/2.8 (for reference, and maybe for those who are just getting started with an actual camera or are switching over from a smartphone, the default setting on an iPhone is f/2.2).
The stars and the Milky Way belt are so far away, that you can get away with shooting at f/2.8 and focusing at infinity. This will allow you to capture super-sharp star photos.
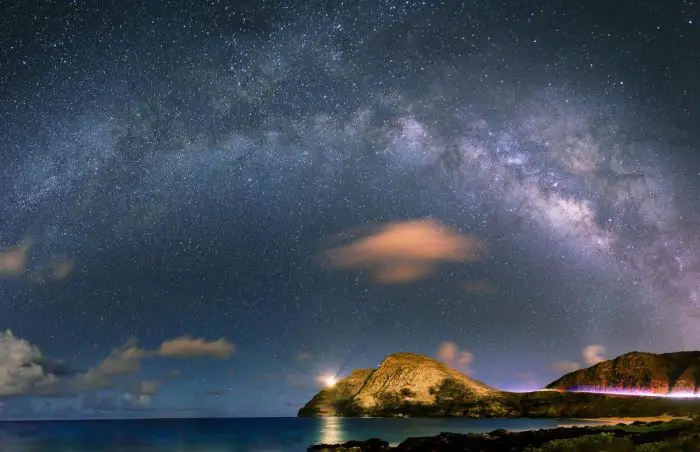
Once you’ve got the F Stop/aperture setting in place, you can play around with the ISO. This is the piece that might take the longest, because you want to find the setting that is bright enough, but does not give you too much noise when the photo comes out.
Experts recommend shooting between an ISO setting of 2500 and an ISO setting of 5000 for stars and Milky Way photos – but remember that you can toggle the exposure and the ISO inversely to one another to get the shot just right, depending on the environmental factors.
Then, set up your remote shutter, depress the button, and repeat the set-up process in any direction you’d like for unique shots.
Post-Photography Session Picture Processing
Now, the post-photography editing session can be just as rewarding and fulfilling as taking the photographs. You get to languidly sort through photos, remember the good times, and make them look super awesome (even more so than they did before).

When you’re getting ready to do this, you’re going to want to make sure you have several programs loaded onto your computer: a combination of Lightroom and Photoshop CS6 to edit your RAW image files (however, if you’ve already got a version of Adobe Camera RAW, this would work just as well in place of Photoshop).
First, let’s get a little bit of background about these programs and what you’ll be using them for. Lightroom 4 is a program for basic RAW image file conversion. This is where you’ll enhance your colors, getting them closer to how they were in real life (remember how sometimes a higher ISO and white balance can mess with this?
Here’s your chance to fix it). You’ll also be able to adjust the brightness and contrast, sharpen up the picture, and reduce the noise in your photos.
Then, with Photoshop CS6 you can get into the details a little bit more. Experts recommend using something called ‘luminosity masks’ to adjust certain parts of the photograph to be brighter than others – obviously, the stars or the Milky Way band, in this case, you might want to apply a mask to.
Additionally, you’ll be able to do some more specific color correction to certain areas, and again, work with sharpening and smoothing out some textures.
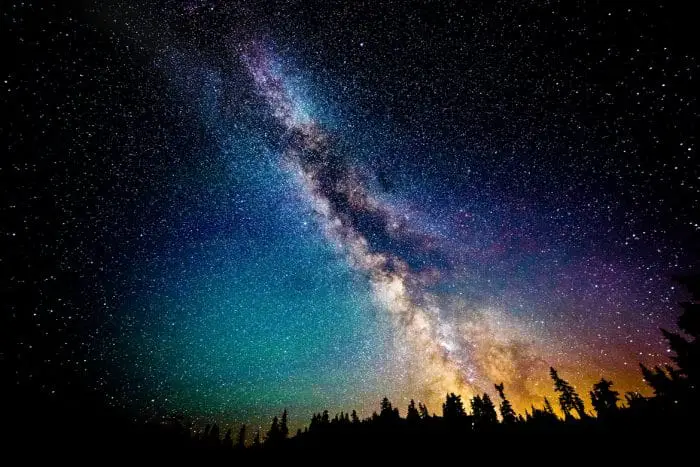
Obviously, there’s no one right way to edit your photos in these programs – we just wanted to make sure you have an understanding of what your resources were before you dove in headfirst. Now that you know, you can get to editing!
Go forth!
We’ve laid out the basics of photography and nighttime photography for you here. Venturing into the world of nighttime photography can be really rewarding for anyone, but might be special if you feel like you’ve already gotten a pretty good handle on daytime photography.
As with anything, once you know what tools you need, and you understand what each tool in uniquely designed to do on it’s own as well as in conjunction with other tools, you’ll be all set. Take your time with the set-up process, make sure you understand the ins and outs of your camera and it’s tools.
There’s nothing worse than thinking you know, and then getting to a place and trying to remember how the ISO works in relation to the shutter – and having to figure that out in the dark. See more tips in our article on how to take breathtaking photography to help you.
Featured Image Source: https://unsplash.com/photos/6JBhbItRvCA


